Bedroom Closet Door Knobs
Disclosure: As an Amazon Associate and member of other affiliate programs, I earn from qualifying purchases.
Old door knob replacement for a thin closet door that won't close properly...and stay closed.
We've lived in our 1946 stone cottage for 5 years now and we've slowly been updating all of the old, worn-out door hardware.
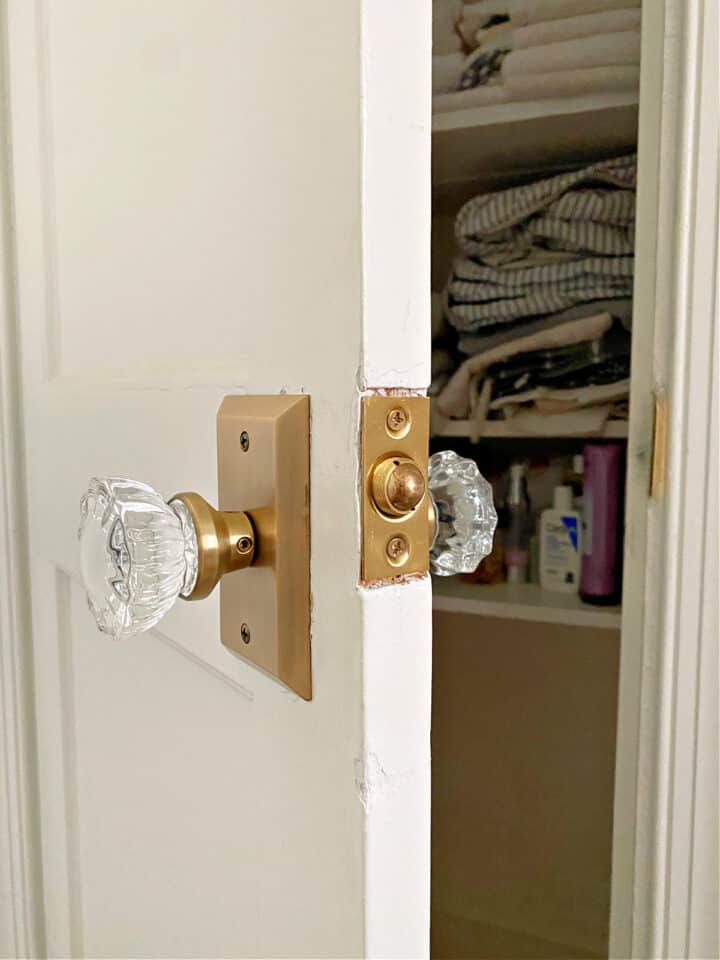
We had beautiful old glass door knobs but many were broken and not in working order. Not only that but most of the door hinges have been painted over with many coats of different colored paints.
We debated on updating with refurbished old glass knobs but in the end we decided to go with new.
The first room to get done was the bathroom.
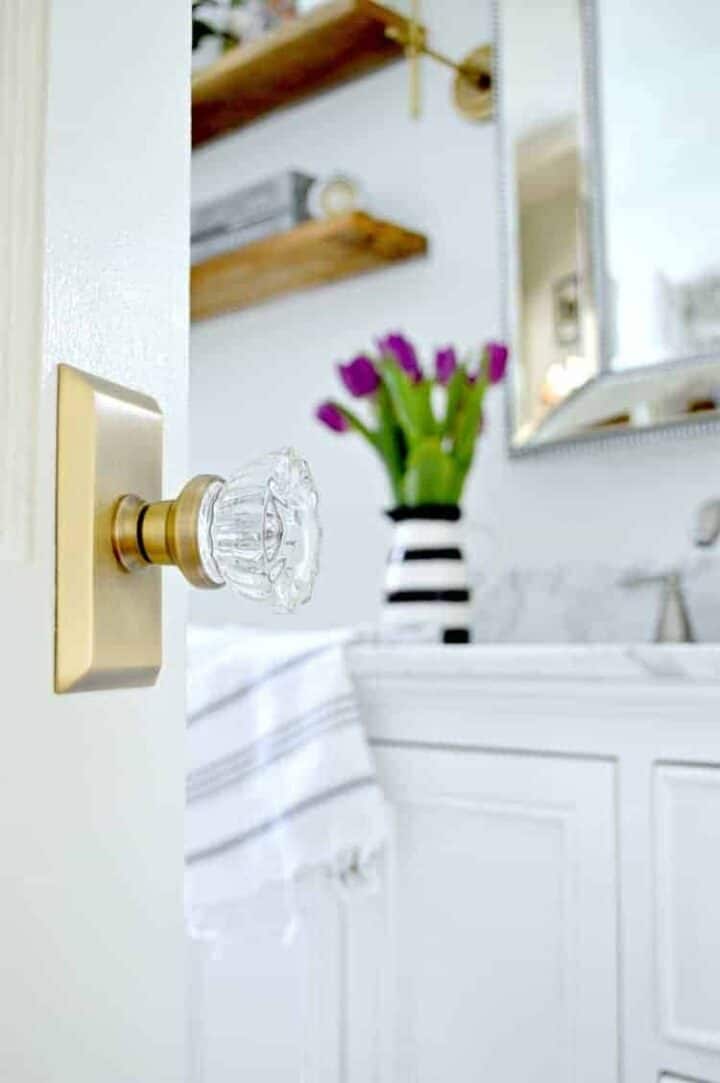
The basement and two guest bedrooms soon followed. Each door got new knobs and new door hinges.
Recently I worked on the last room, the master bedroom and closet. Both doors were in desperate need of new door knobs, as well as hinges and door stops.
All of the doors were challenging, to say the least, but 2 of the closet doors required a bit of cheating.
So...the bathroom closet door and bedroom closet door are thinner than a standard door. What I quickly learned was that a standard door knob just wouldn't work on a door that is only a little over an inch thick.
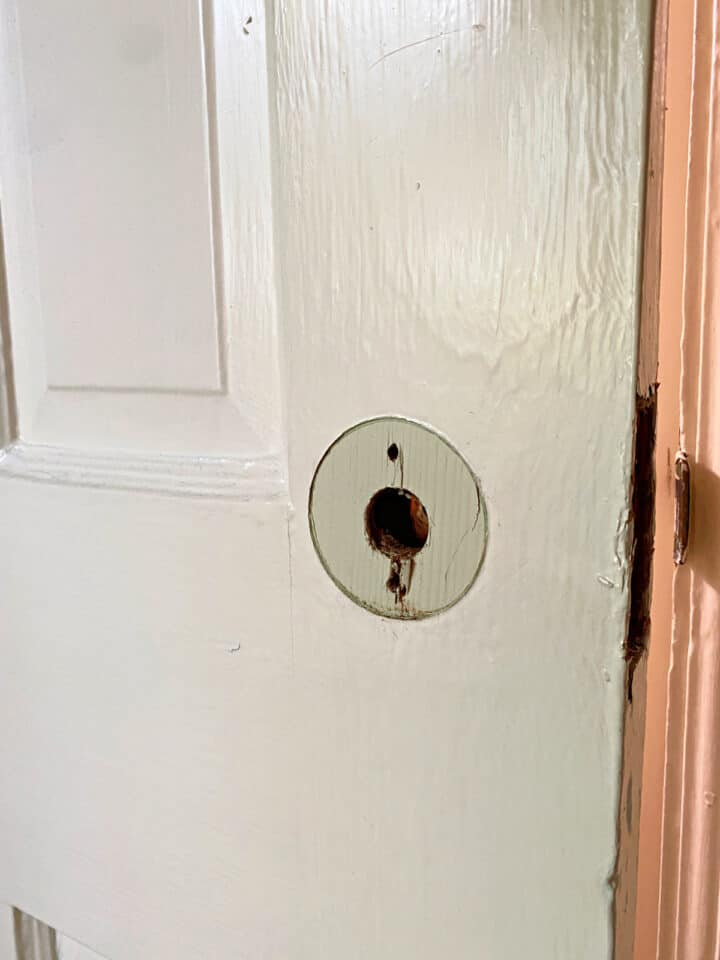
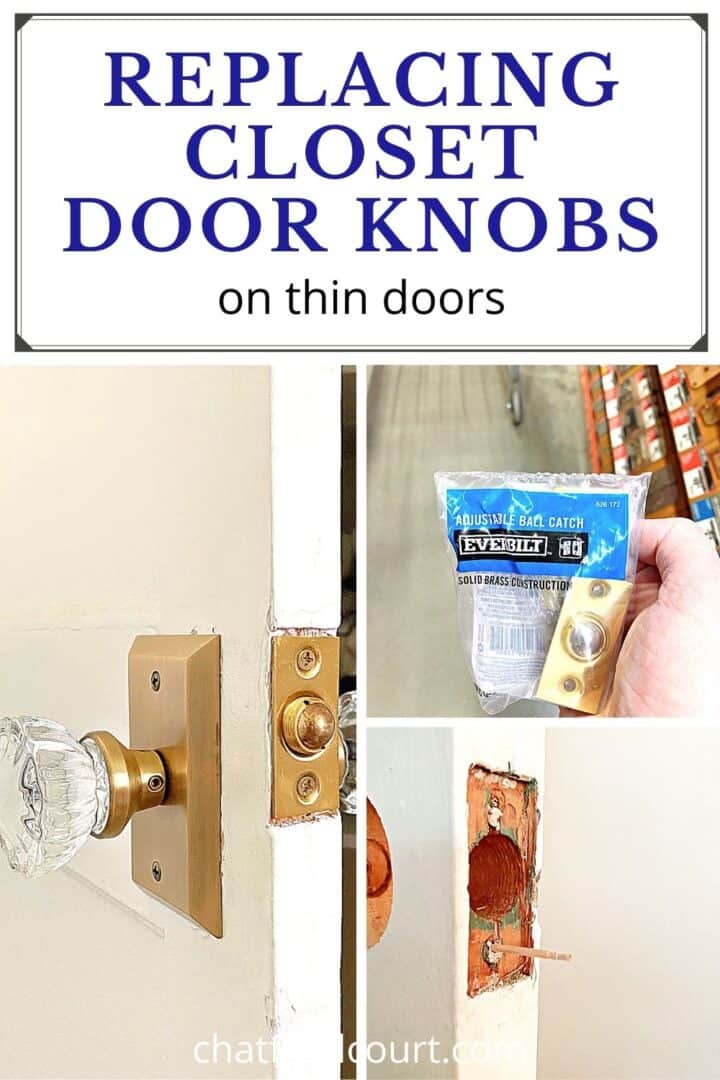
After a bit of thought I decided to try a double dummy door knob for each closet. It was an easy installation and I didn't have to drill a large hole in the door.
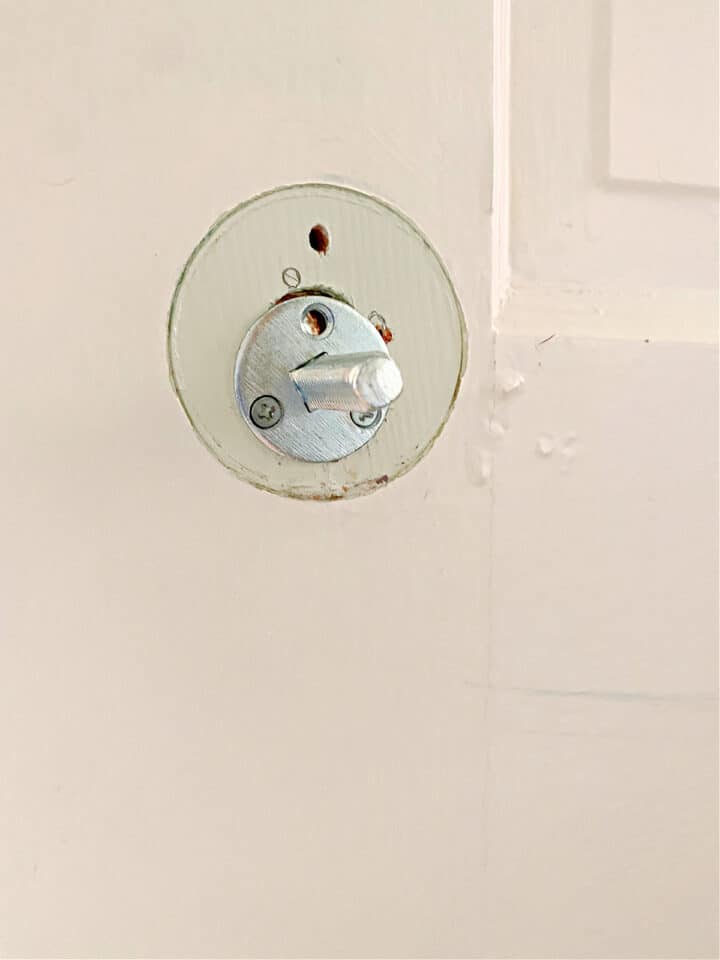
Once I installed the door knobs I worked on getting the door to close...and stay closed. Both doors have never really stayed closed since we moved in, which drove me crazy.
My little idea to fix the problem was to use an adjustable ball catch latch.
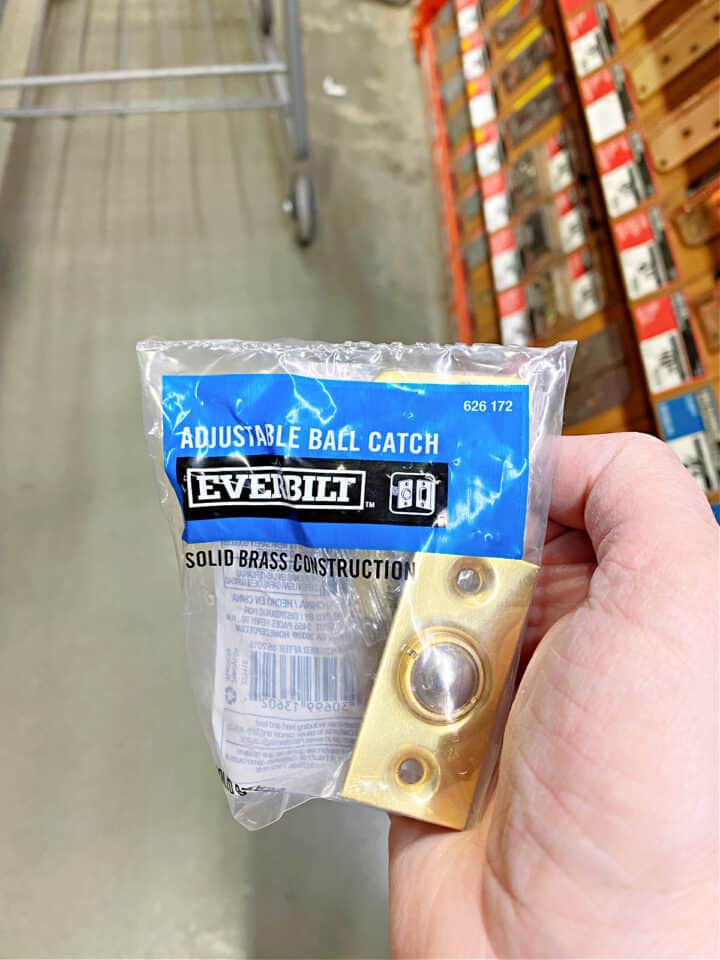
Supplies to replace vintage door knobs on a closet
- double dummy door knob
- drill
- screw driver
- pencil
- chisel
- hammer
- adjustable ball catch latch
- toothpicks
- wood glue
- nippers
Installing Glass Door Knobs
The way it works is that the ball catch latch catches on the strike plate and keeps the door closed. The nice thing about it is that it can be adjusted by twisting the ball to the length you need.
It was the perfect solution for our thinner doors!
So, once the dummy door knobs were installed I worked on the ball catch latch. I had to use the hammer and chisel to carve out the door and the door jamb so that the latch and strike plate would fit.
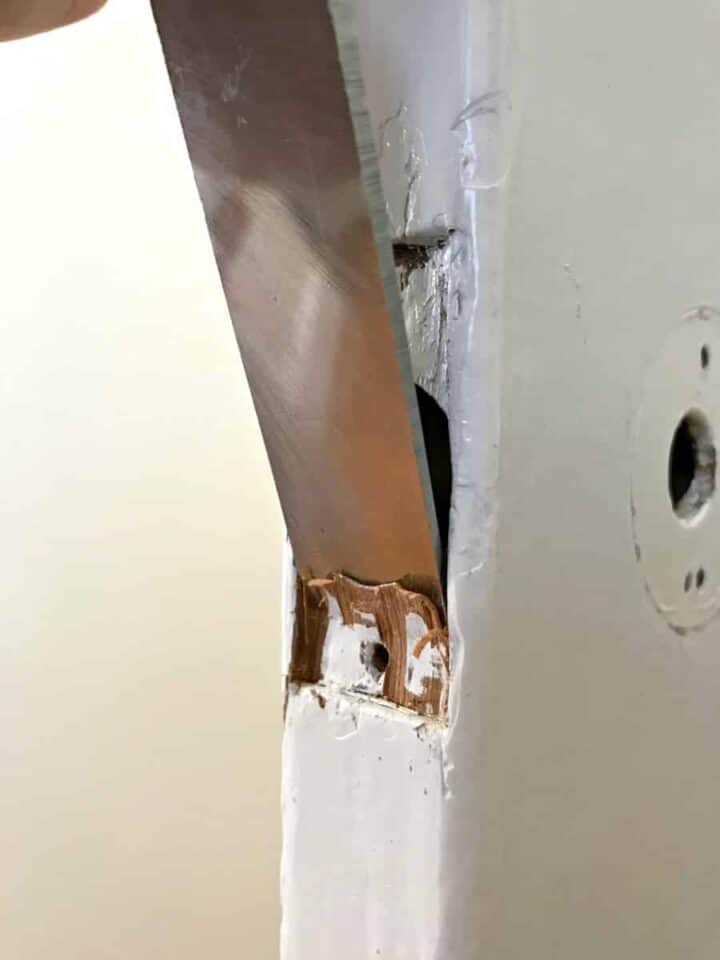
After I chiseled the door I had to fix the screw holes. Remember our cottage is 80 years old so the screw holes have seen a lot of action.
To fix the holes I just used our tried and true toothpick trick.
I just rolled a few toothpicks in wood glue and stuck them in the screw holes. Then I took a hammer and lightly tapped the toothpicks in.
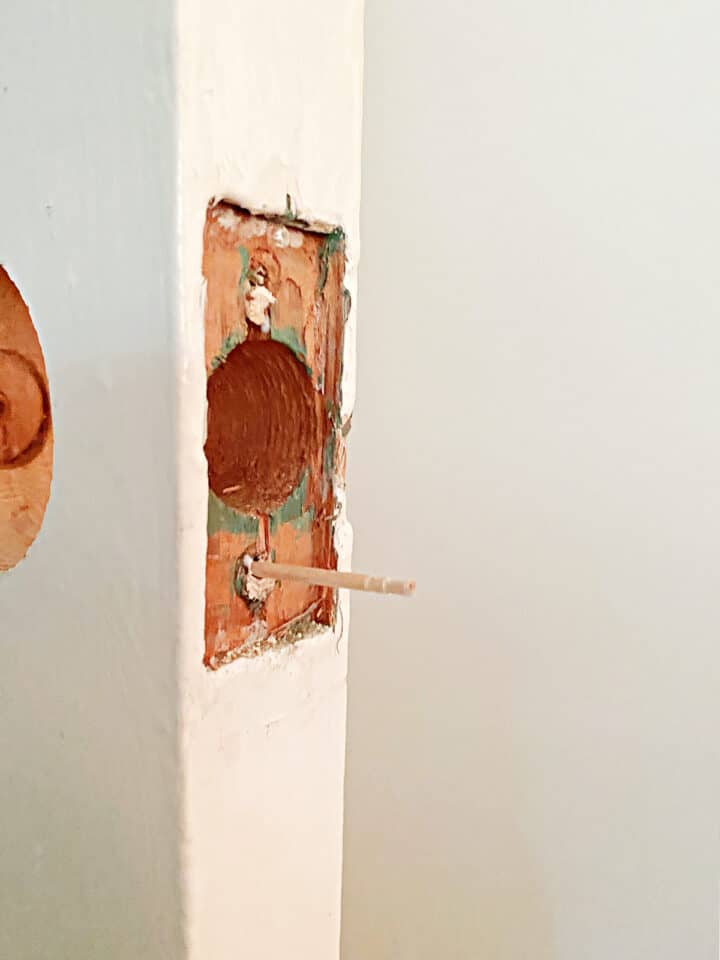
Next I trimmed the toothpicks with a pair of nippers and hammered in the toothpick stubs.
Now I was ready to install the ball catch latch.

I know...the latch doesn't really line up with the bathroom door knob but I wasn't going to repair the old holes to make new. I chalk it up to the quirks of living in an older home.
Once the door knobs and latches were installed I moved on to the door hinges.
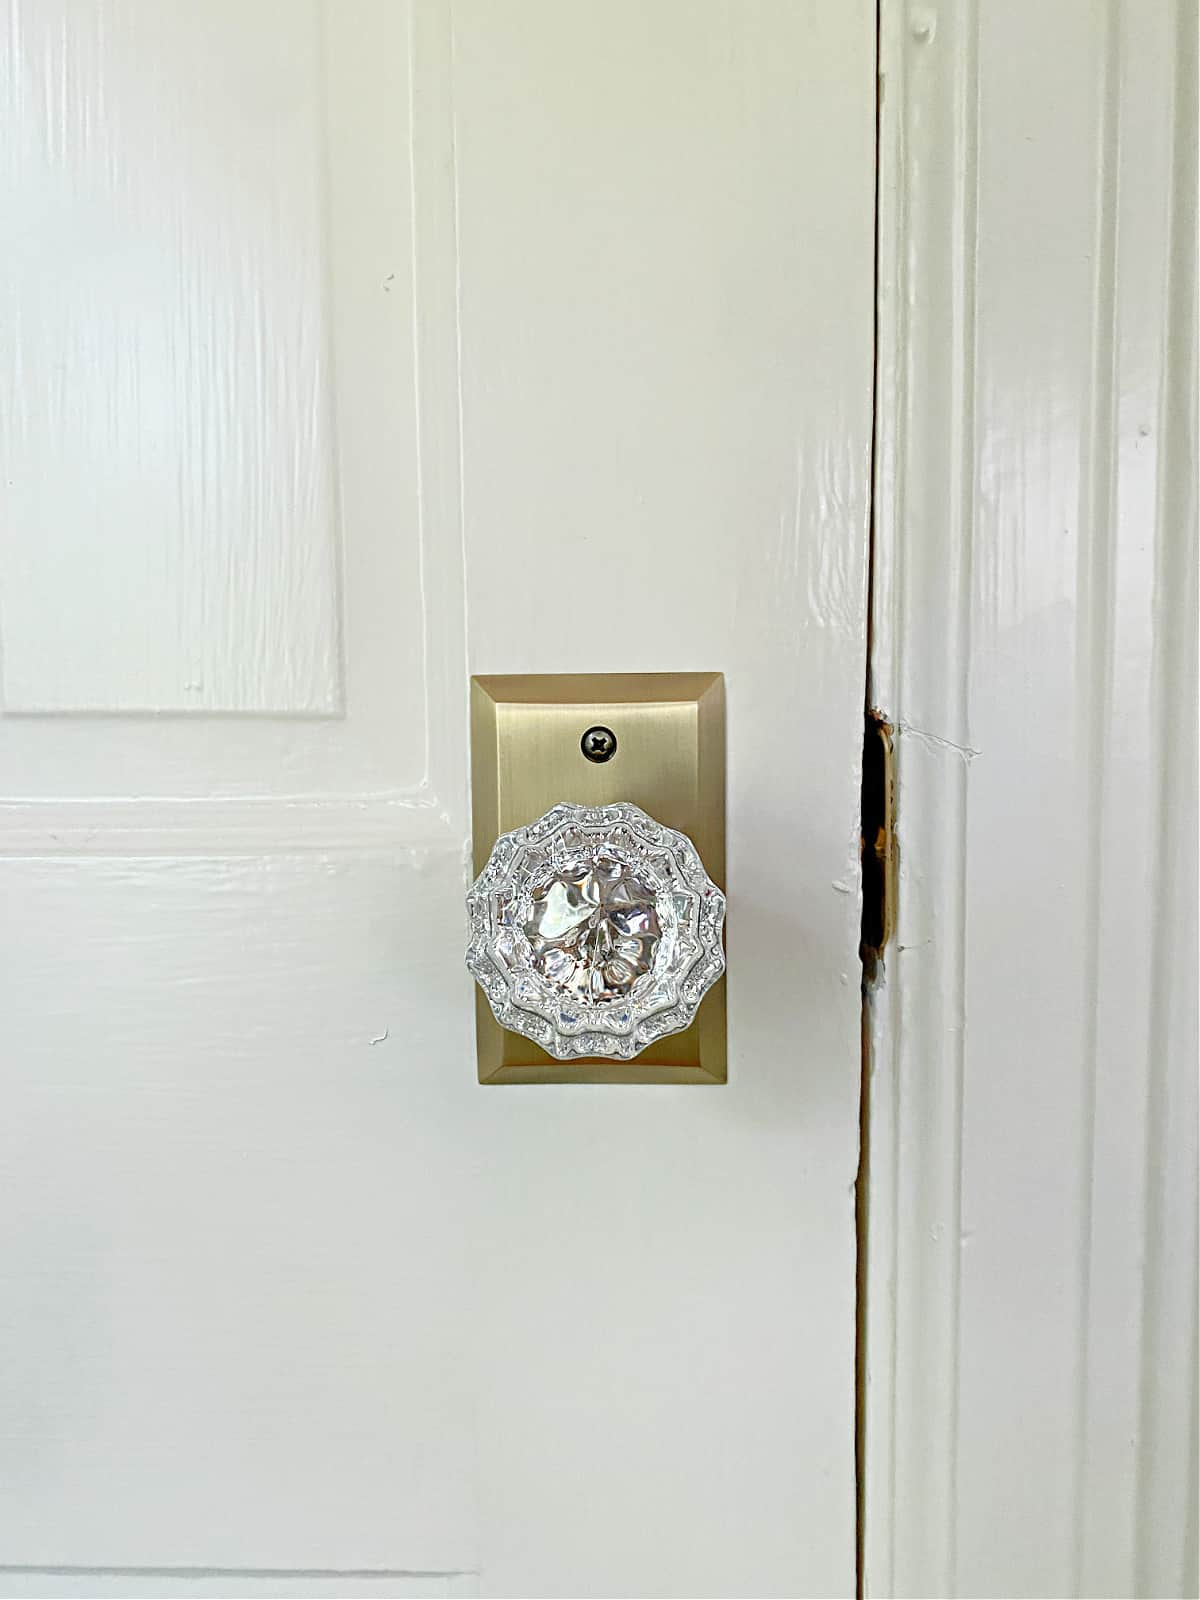
After all was said and done I have 2 closet doors that close tight, and stay shut.
And after 5 years, all of the doors in the cottage are completely done and in working order. Ready for the next 80 years.
Check out our other door knob and hinges posts
- Replacing Old Door Knobs and Hinges
- Updating Old Doors with New Glass Door Knobs
- Replacing a Basement Door for Free
Source: https://www.chatfieldcourt.com/old-door-knob-replacement-for-closet-doors/

Posting Komentar